How to Make a Leather Wallet with a Personalized Logo
How to Make a Leather Wallet with a Personalized Logo
Leather wallets are timeless accessories that can last for years and reflect your personality. In this blog post, I will show you how to make a leather wallet with a personalized logo using some basic tools and materials. You will need:

- A piece of leather
- Cutting tools
- Edge beveler
- Burnishing tools
- Needle and thread
- Embossing or stamping tools
Step 1: Design and Cut
The first step is to design your wallet and cut out the leather pieces. You can use a template or draw your own design on paper. Then, transfer the design onto the leather piece using a pen or a marker. Make sure to leave some extra space around the edges for stitching.
 Next, use sharp cutting tools to cut out the leather pieces. You will need a front piece, a back piece, and an optional inner piece for extra pockets. Make sure to cut the leather pieces cleanly and precisely.
Step 2: Bevel and Burnish
The next step is to bevel and burnish the edges of the leather pieces. Beveling is the process of removing the sharp corners of the leather edges to create a smooth and rounded look. Burnishing is the process of polishing the leather edges to seal them and prevent fraying.
To bevel the edges, use an edge beveler tool and run it along the edges of the leather pieces. To burnish the edges, use a bone folder or a wood slicker and rub it along the edges of the leather pieces with some water or wax.
Step 3: Stitch
The third step is to stitch the leather pieces together. To do this, you will need to mark and punch the stitching holes along the edges of the leather pieces. You can use a ruler and a pen to mark the holes evenly, and a hole punch or an awl to make the holes.
Then, use a needle and thread to stitch the leather pieces together. You can use any stitching method you prefer, but I recommend using a saddle stitch for durability and strength. A saddle stitch is a type of stitch where you use two needles and one thread, and pass them through the same hole from opposite sides.
Step 4: Emboss or Stamp
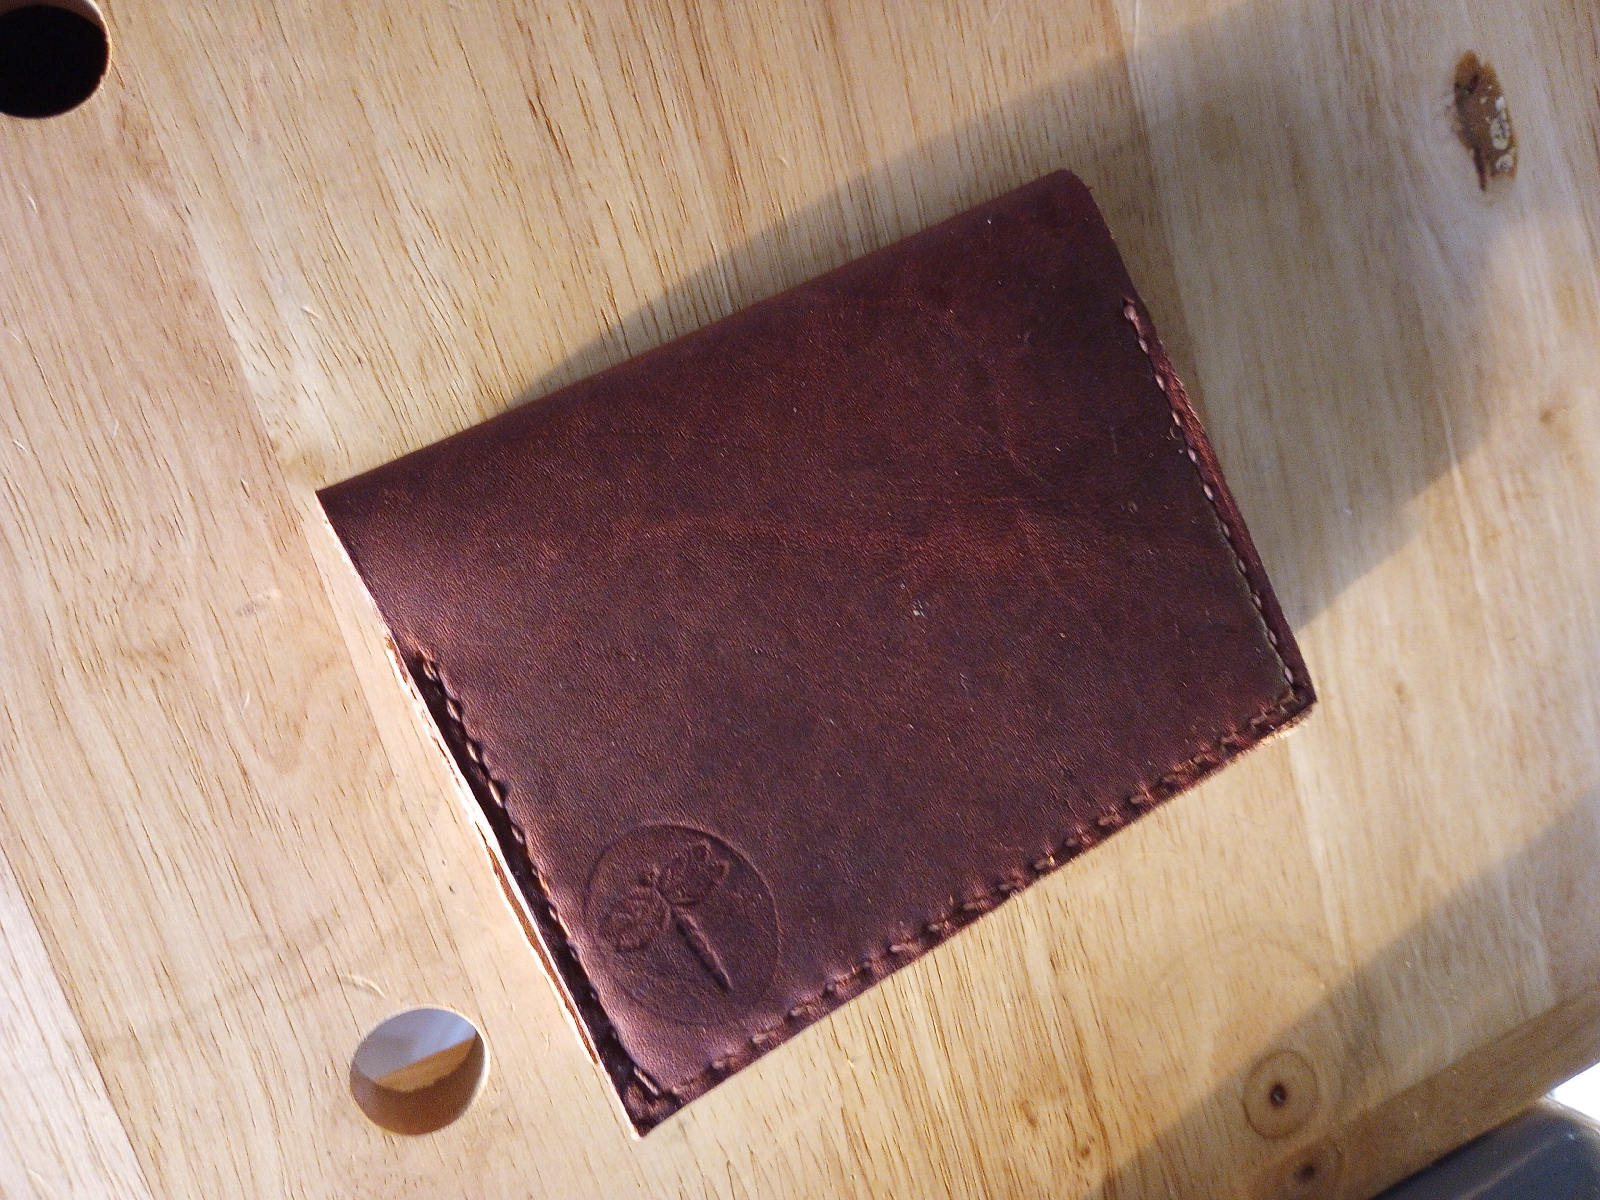
The final step is to emboss or stamp your personalized logo onto the front of your wallet. Embossing is the process of creating a raised design on the leather surface using heat and pressure. Stamping is the process of creating a depressed design on the leather surface using force and a metal stamp.
To emboss your logo, you will need an embossing tool and a heat source. You can use a soldering iron or a wood burner as a heat source. First, draw or print your logo on a piece of paper and cut it out. Then, place the paper logo on the leather surface and trace it with the embossing tool. Finally, apply heat and pressure to the traced logo to create a raised design.
To stamp your logo, you will need a metal stamp and a hammer. You can buy a metal stamp with your logo or make your own using a metal sheet and a metal cutter. First, place the metal stamp on the leather surface where you want your logo to be. Then, use a hammer to hit the metal stamp firmly and evenly to create a depressed design.
Congratulations!
You have just made a leather wallet with a personalized logo! You can now enjoy your handmade wallet or give it as a gift to someone special. I hope you enjoyed this blog post and learned something new. If you have any questions or feedback, feel free to leave a comment below. Thank you for reading!